Wake Forest, NC - 9:00 AM, Friday, March 9, 2007
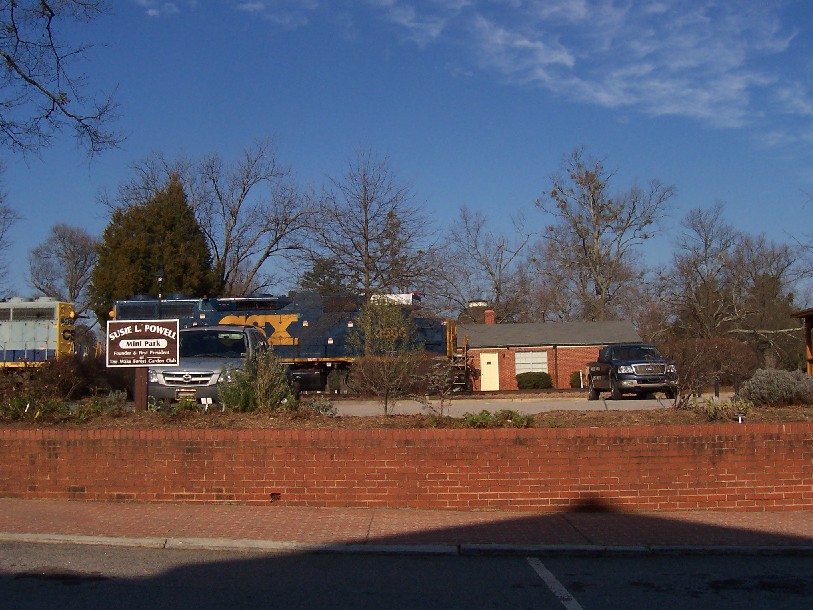
- CSX #2565 and #6078 lead the northbound freight from Raleigh, NC through Wake Forest, NC enroute to Youngsville, NC.



Click on thumbnails to view larger image.
Swing Gate Project - Friday, March 9, 2007
- The Dream: Build a strong and reliable cross over section, lift out, or swing gate for the mainline track traversing the aisle way.
- The Plan: Draw up plans showing dimensions and materials list. (Plans were drawn up during the weeks between February 25th and March 8th.)

- The Build: Get er done!
- Parts and brass hardware.
Plywood and member cuts were made in the garage and transported to the train room, keeps the saw dust at bay and easier to clean up.


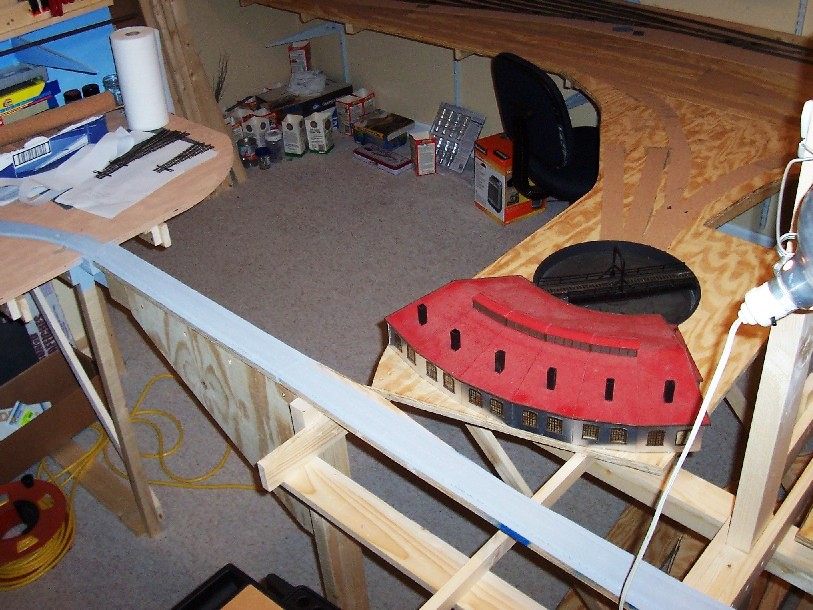
- Aisle way side view and top / down view before swing gate addition.


- Square up the 2X4 (left side) and 2X2 (right side) for swing gate hinges and throw plate.

- Began with framing up the gate by lining up the 2X4 with the plywood sheet.
Checked alignment on all sides for flush.


- Measured and drilled first set of guide holes for brass screws.
Then attached screws for first side of swing gate.


- First side of swing gate completed.


- Second plywood piece framed up for the swing gate.


- Squaring up the 2X4 and attaching it to the benchwork.
Added a 2X2 screwed into the floor for the foot anchor, then added a 1X3 L-girder to the head portion of the 2X4 for solid attachment.
The benchwork is now more solid than ever.
Some might think this is overkill using the 2X4, but it will hold the weight and movement of the swing gate.


- Attaching the brass hinges and hardware.


- Attaching the swing gate to the 2X4 stud.
Mark the drill holes.
Drill and then attach the brass screws.
The swing gate is hung!


- Leveling the 3/4" plywood sub-roadbed section on the swing gate with a 1/4" plywood shim, utilizing latex caulk and screws.


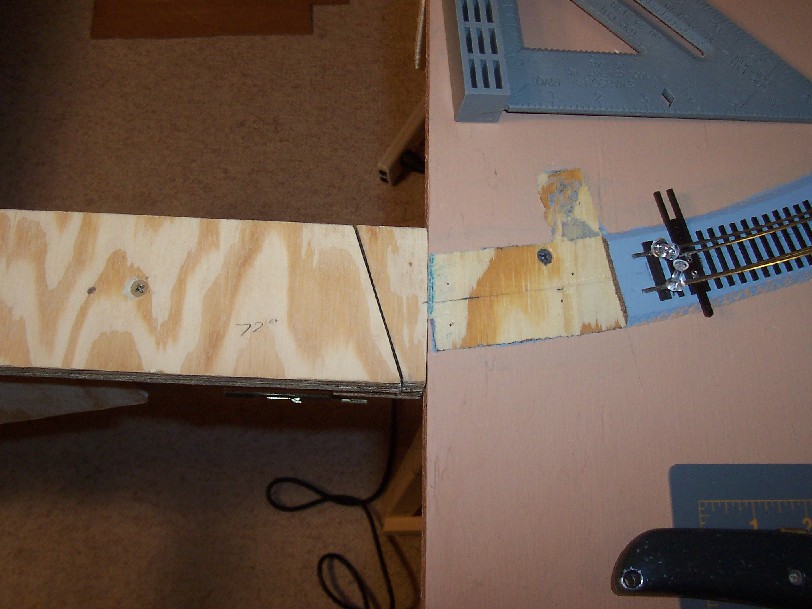
- Added 72 degree cut section to throw side of swing gate sub-roadbed 3/4" plywood material.
Glued angle cut piece to base, then measured center and attached to sub-roadbed with latex caulk and screws.


- Tested swing gate clearance with throw plate section.


- Attached the brass dead bolt in horizontal alignment as opposed to the original drawing where it was positioned in a vertical alignment.

- Completed swing gate.
Still need to add the cork roadbed material and track, and then the electrical power.



Model Railroading is Fun!
Weller Soldering Iron - Lowe's Home Improvement Purchase - Thursday, March 8, 2007
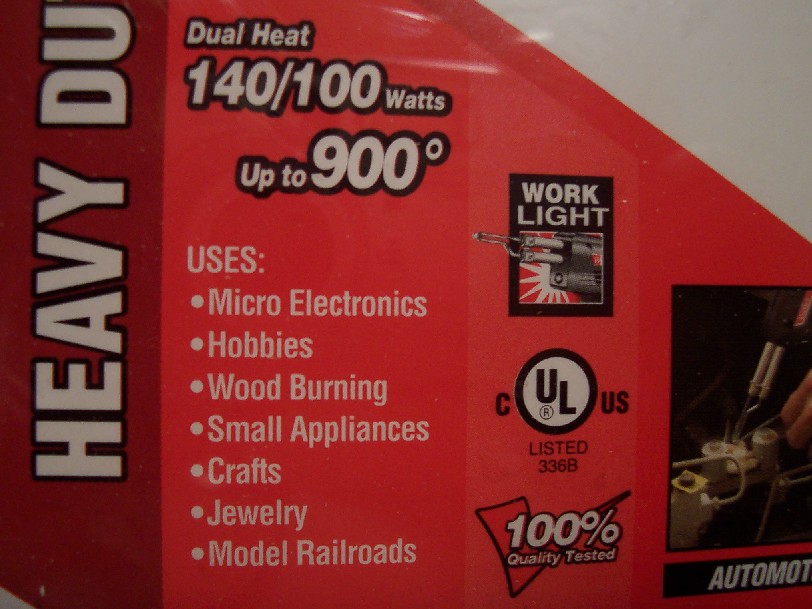
- Heavy Duty Solder Iron

- Notice the reference to USES: Model Railroads
Scenery Paint Test - Friday, March 9, 2007
- Coated earth tone flat latex paint on test scenery section.
Fresh paint is still wet in these images.


Click on thumbnails to view larger image.
Track Laying Progress - April 2007
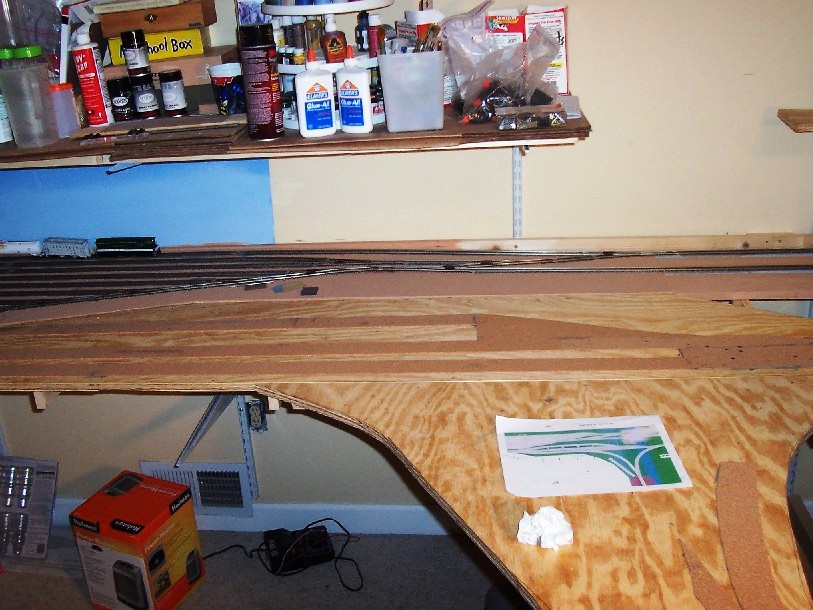
- Laying out track segment locations and cork roadbed in preparation for track progress




Click on thumbnails to view larger image.
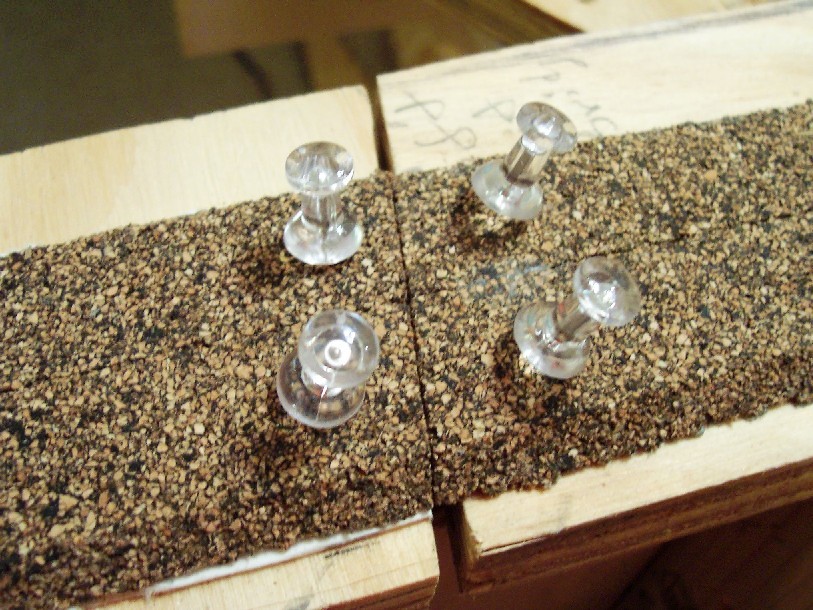
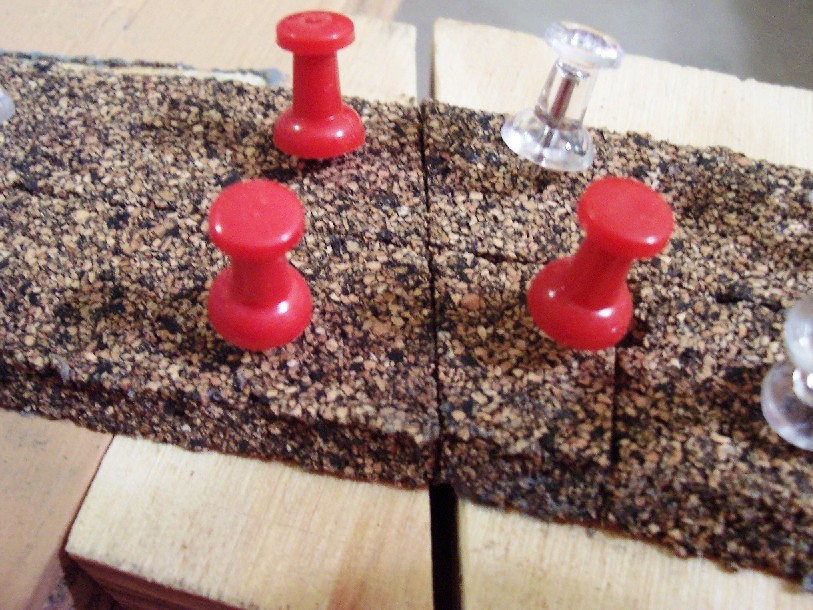
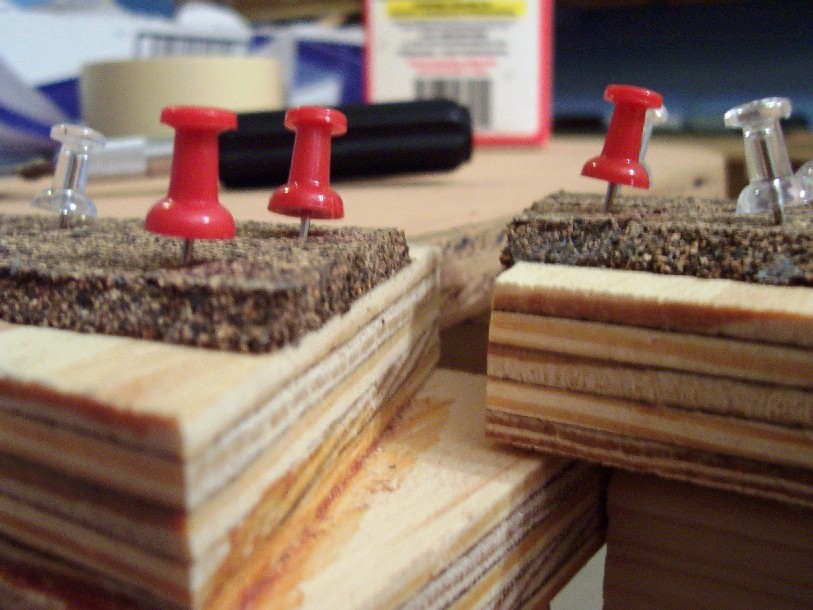
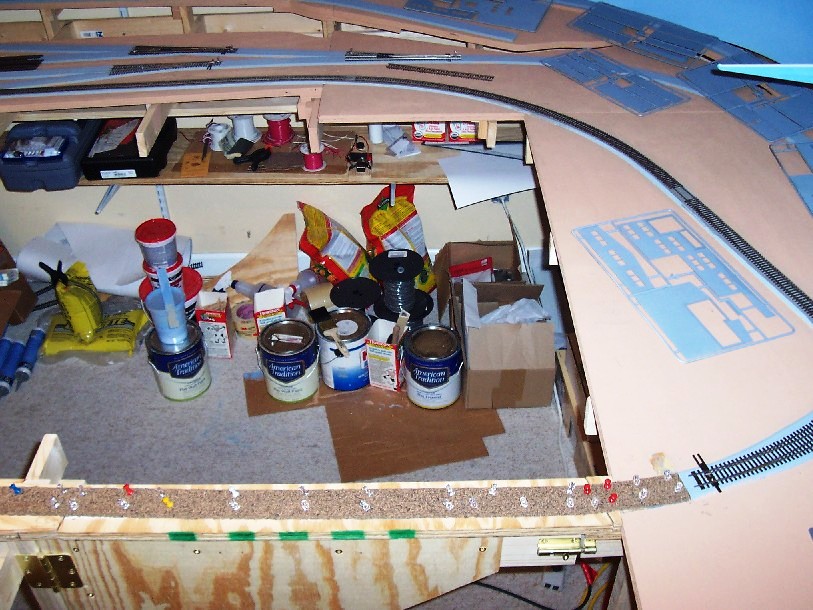
Swing Gate Construction Progress - April 2007
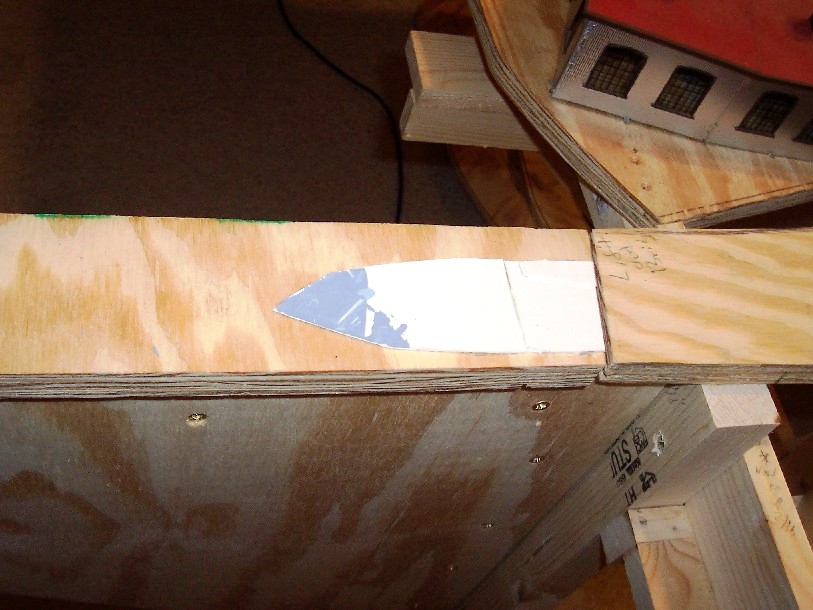
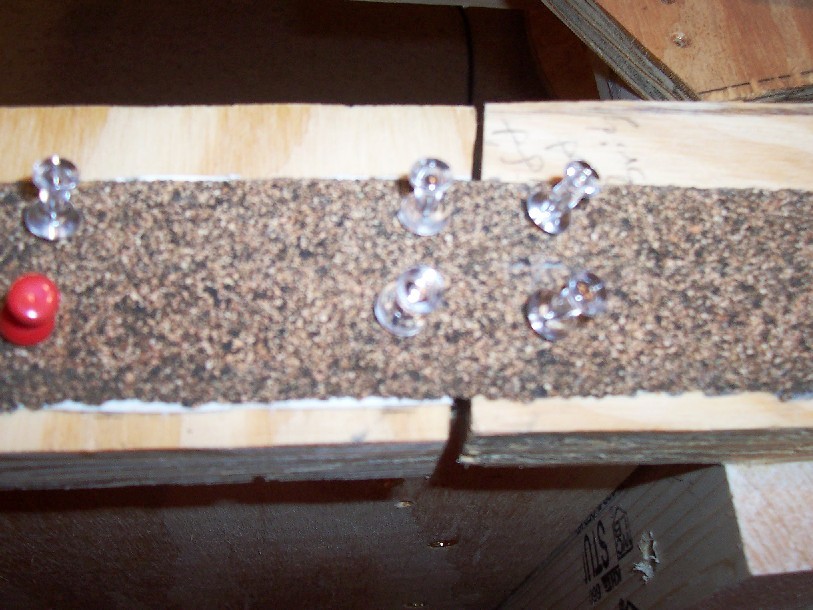
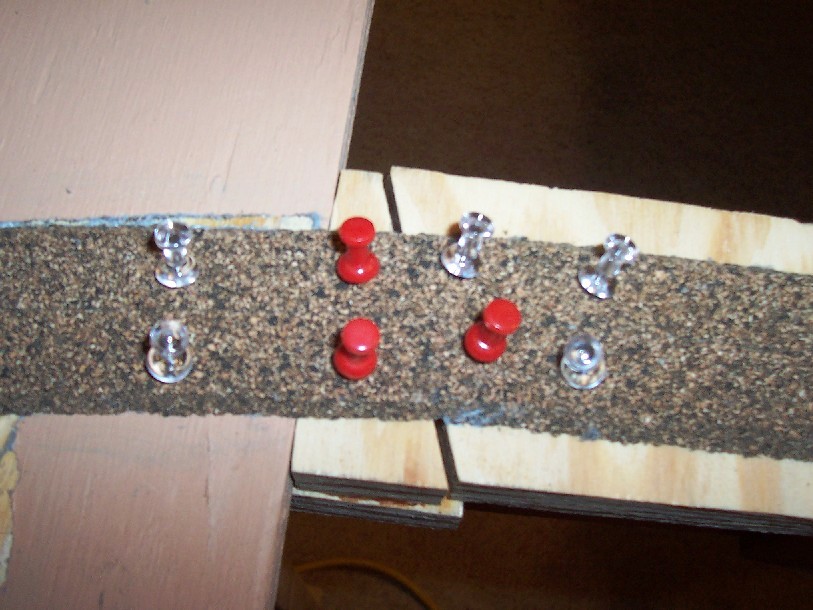
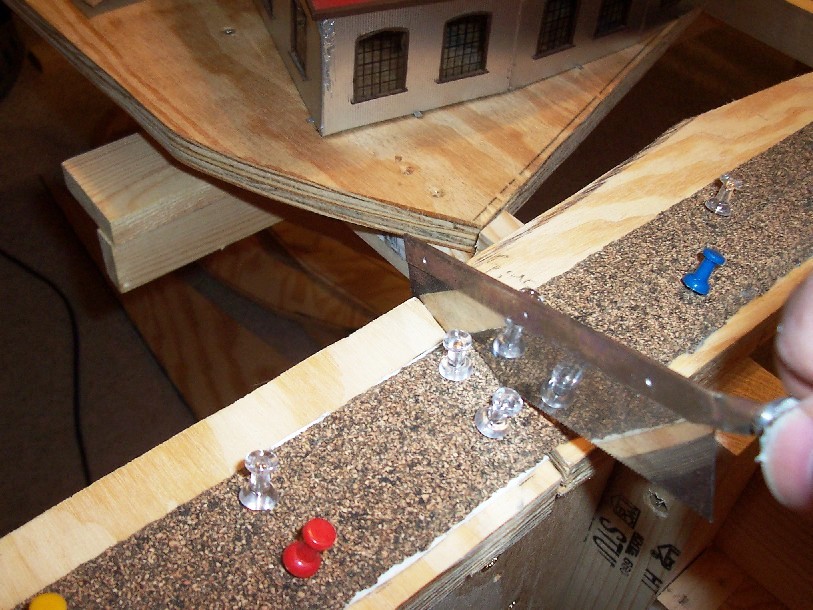
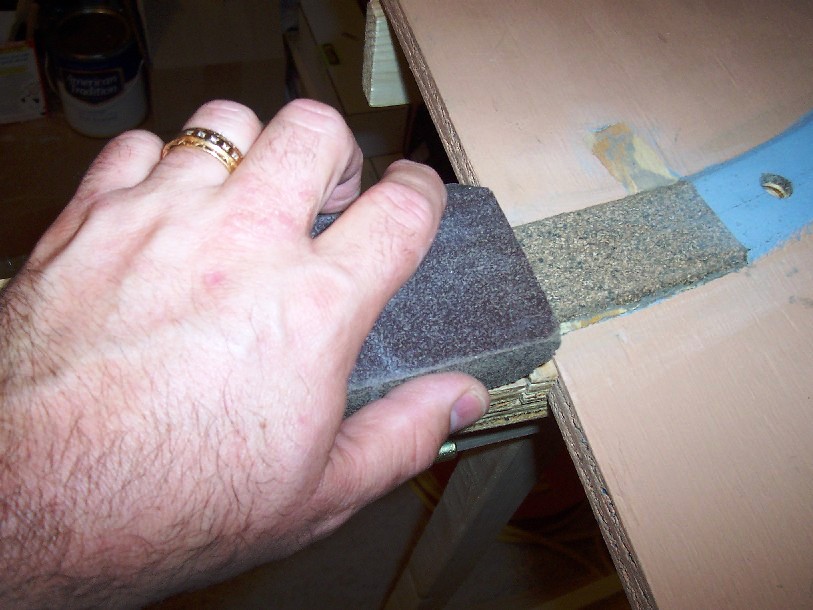
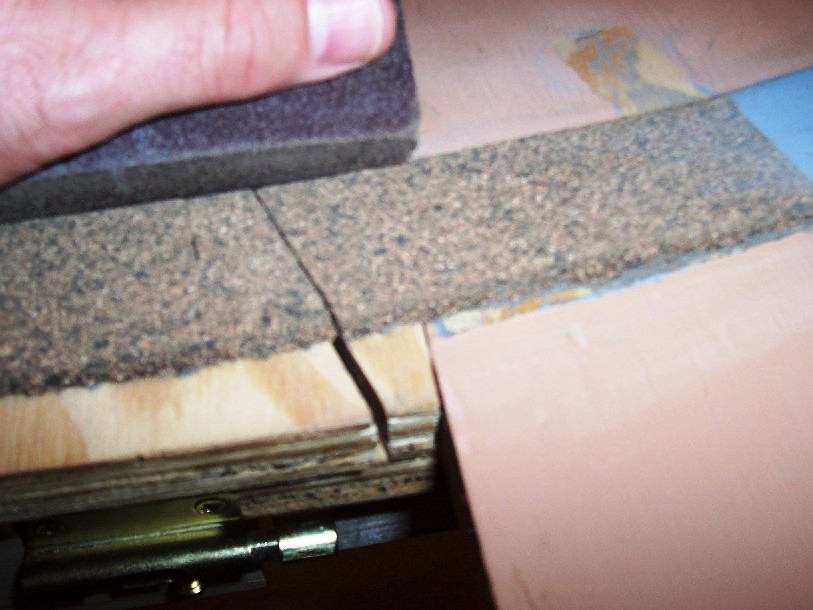
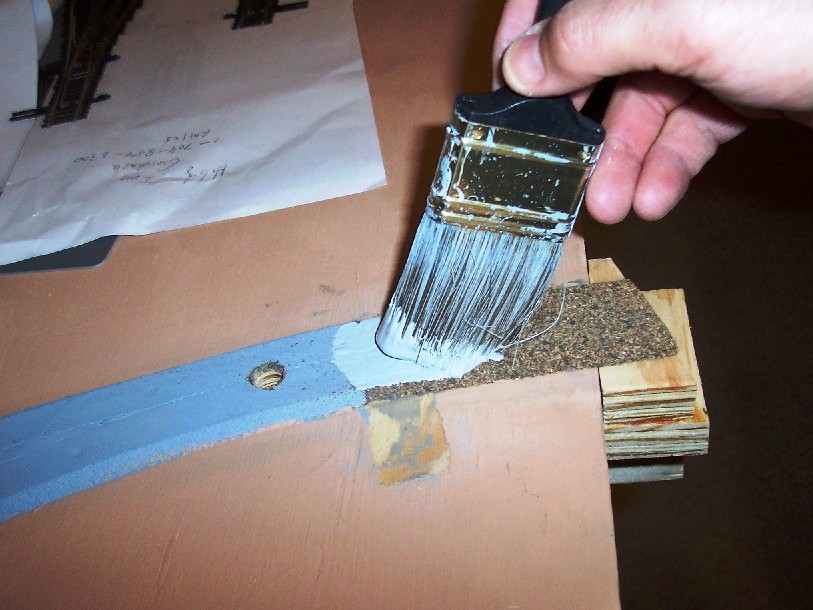
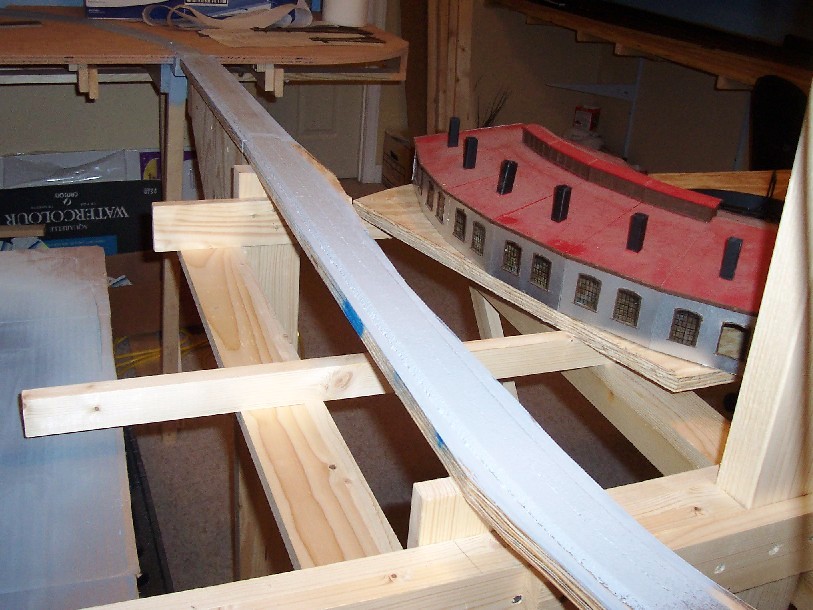
- Various steps of the swing gate construction project





Click on thumbnails to view larger image.