The Piedmont Division
Norfolk Southern, Southern, and Norfolk & Western Railways


Roundhouse Renovations |
|
|
Welcome to the Roundhouse Renovations page! I start off with a short tutorial on how I build the inspection pits, and then explain and demonstrate the flooring layer and track laying technique.
|
Inspection Pit Construction |
|
The Inspection Pit Kit - Friday, July 6, 2007
|
|
Started work on the Stewart Industries Inspection Pit kit, and this is the item number with URL hyperlink to the Walther's catalog listing. HO Yard Servicing Facility Work Pit. (Cat. N. 213). This is the kit (see images below), I purchased six of these and have begun the process of building the first one, I figure that if the mistakes are made early on with this one then the others will get built faster and better. So far so good! |
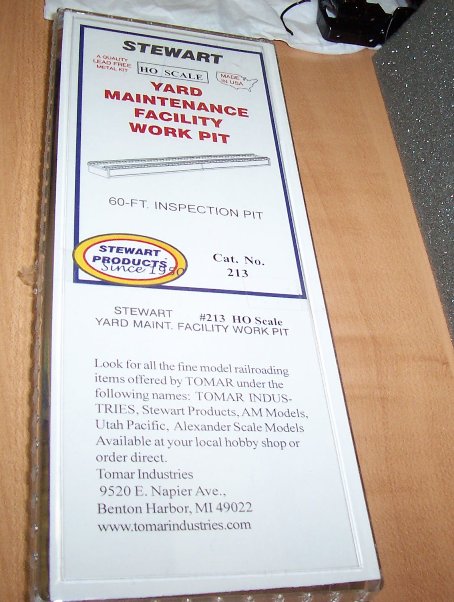
The Box 
Contents Since this is the first time I have worked on a metal castings kit of this kind, my learning curve is on the upswing. I spoke with Kim at Train Buddy and he said that there are three adhesives that would work for metal castings, and they are super glue, CA, or Goo. I have the CA and Goo, so I will start with these adhesive first. |
Filing I filed down the metal castings first to get them cleaned up a bit. All four edge sides of the wall pieces have flashing that needed to get removed, and I also filed down the top side of the wall pieces for smooth track placement. Then I cemented the metal casting wall sides together with Goo, placing four wall pieces together in two completed sides. I then set them to dry and cure overnight in the magnetic gluing jig. I have six of these kits that will eventually make it into the bottom foundation of my 6-stall roundhouse. |
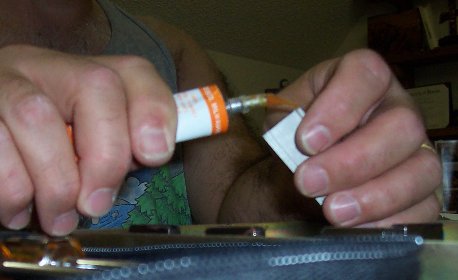
Applying cement I used Walther's Goo for the cement to attach the four metal casting walls on each side of the inspection pit. This is an old tube of the stuff, and I find it very flexible as it is a rubber based product. Turns out that the Walther's Goo was not the best choice of adhesive for this application. |
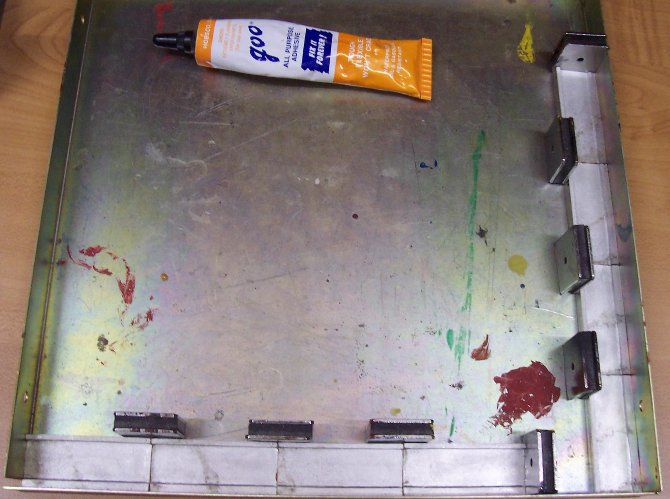
Setting the pieces These are the two wall sides set in the magnetic jig. I have a taken these few photos and I will post more of them as I progress through the first kit, taking notes too for future reference. |
| Continuing with the Pit kit - Saturday, July 7, 2007 |
|
I let the Goo set up overnight and checked the bond the next morning. I was not happy with the level of structural steadiness of the bond that the Goo provided, the bond was flexible and easily pliable, so I decided to add some reinforcements. |
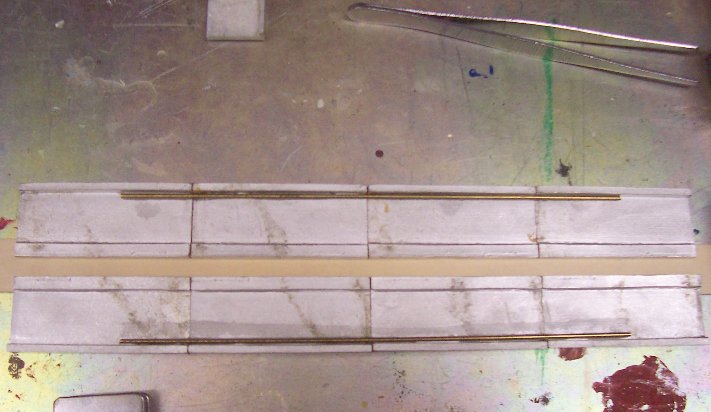
Adding brass for strength I found some left over Detail Associates HO Scale detail 4" Iron Pipe (4.5" O.D.) .052" brass rods. These were 12" long, so cutting one of them into two equal 6" lengths would be a perfect fit. I placed them just under the top outside section of each wall. Since this side will not be in plain view after they are in place on the roundtable foundation it was the perfect area of choice. A little cyanoacrylate adhesive ZAP CA was used to bond the HO scale 4" brass pipe lengths and the metal castings. |

Flat gray primer coat After a few hours of drying time the brass pipe reinforcements were solidly attached to the back of each wall and they were not bending now. I felt comfortable to move on to painting the parts. The flat gray primer coat looks like concrete to me! I let the painted parts dry overnight and then brought them back to the workbench to test fit them before final placement and gluing. (NOTE: Once the completed pit was placed into the roundhouse foundation it was noted that the color appears to have a blue hue or tint, so after further review I am going to re-paint it with a combination of concrete and aged concrete paint.) |
|
Pre-fitting the painted parts prior to final placement and gluing.
|

Pre-fit parts - Image #1 
Pre-fit parts - Image #2 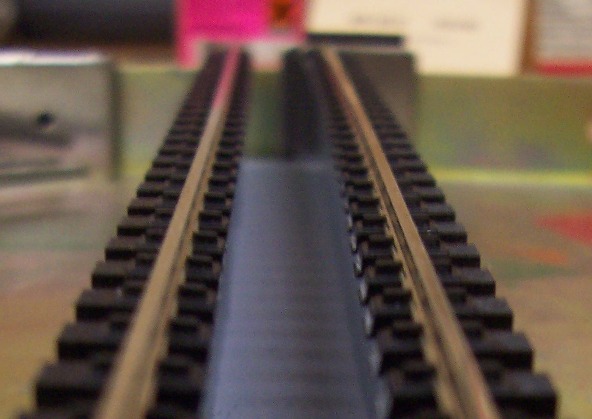
Pre-fit parts - Image #3 
Pre-fit parts - Image #4 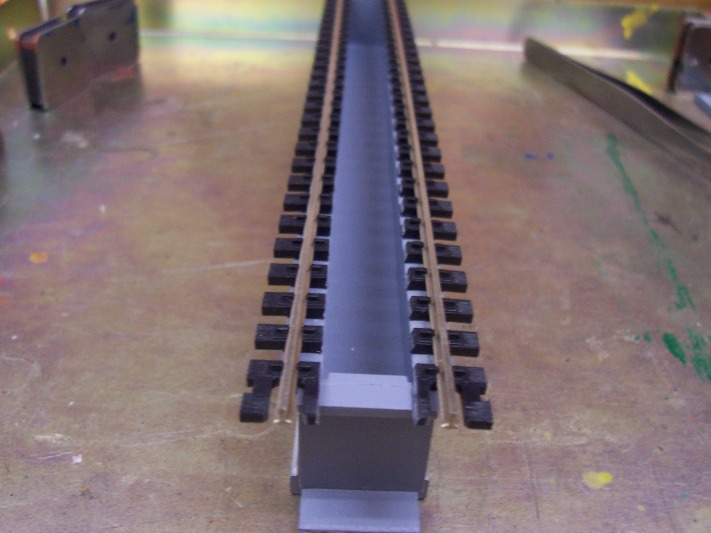
Pre-fit parts - Image #5 |
|
The next step is to get the final alignment and glue the walls and floor together and set up in the jig for drying.
|
| Fitting and Drying the Parts - Sunday, July 8, 2007 |
|
The final fitting and adhesive attachment in the jig using the small brass clamp to keep the inspection pit intact for curing and drying. I used CA to attach the wood floor to the two metal casting walls as well as the two end pieces. 
Final gluing 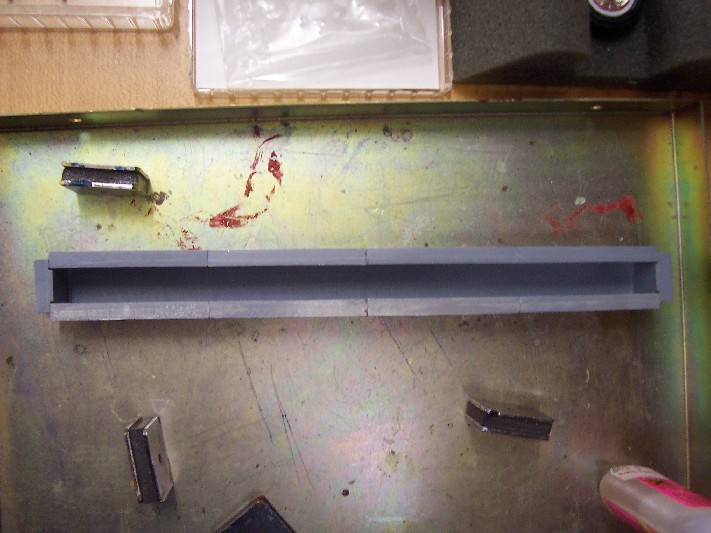
Finished drying inspection pit |
|
(Click on images for a larger view.)
|
|
Foundation and track laying - September 15, 2007 |
|
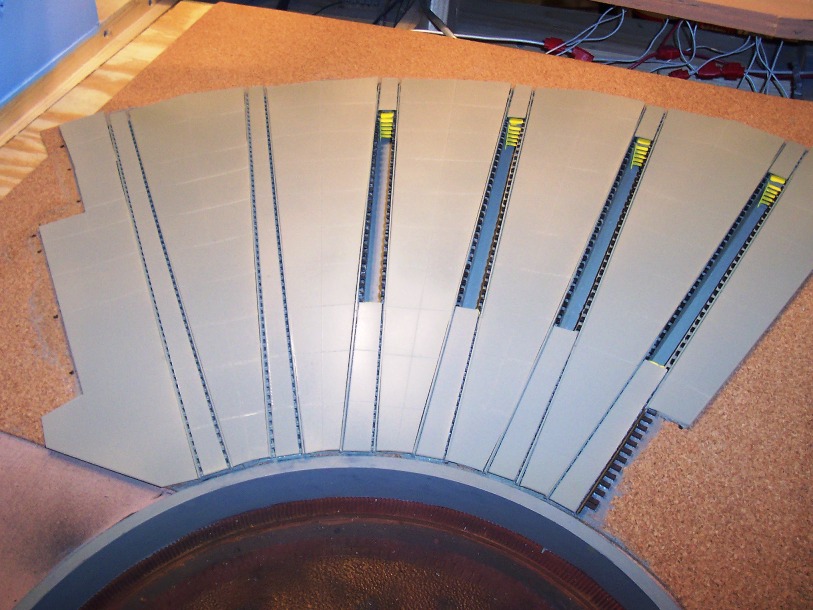
Measured and attached cork sheeting to roundhouse foundation and began the layering process for final track alignment and placement. Using a combination of cork and sheet styrene the ultimate goal is to present a concrete foundation with in-laid track as well as excavated inspection pits under four (4) of the roundhouse track tangent alignments. |
|
Initial cork sheet cut and attached with the 3M Super 77 adhesive. |
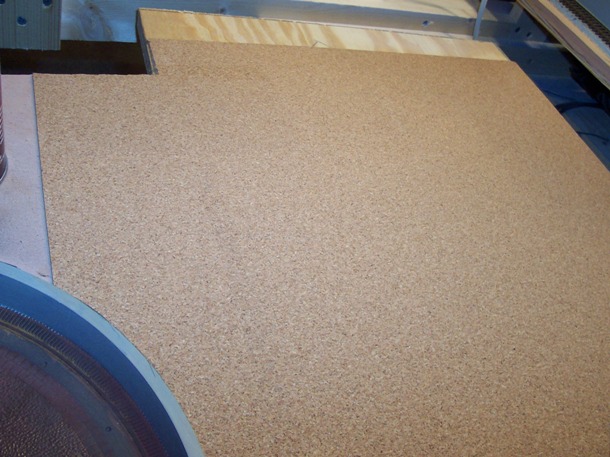
Initial first layer cork sheet for foundation attached to plywood sub-roadbed base. 
3m Super 77 Spray Adhesive |
|
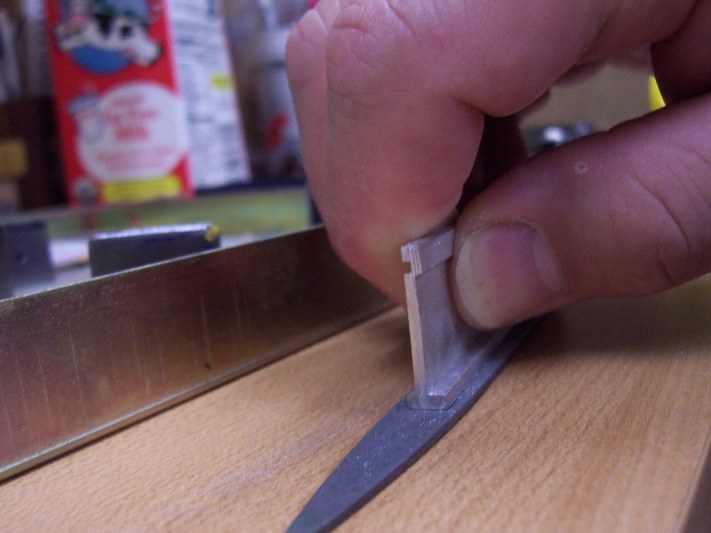
Initial cuts to expose the inspection pit placement holes. 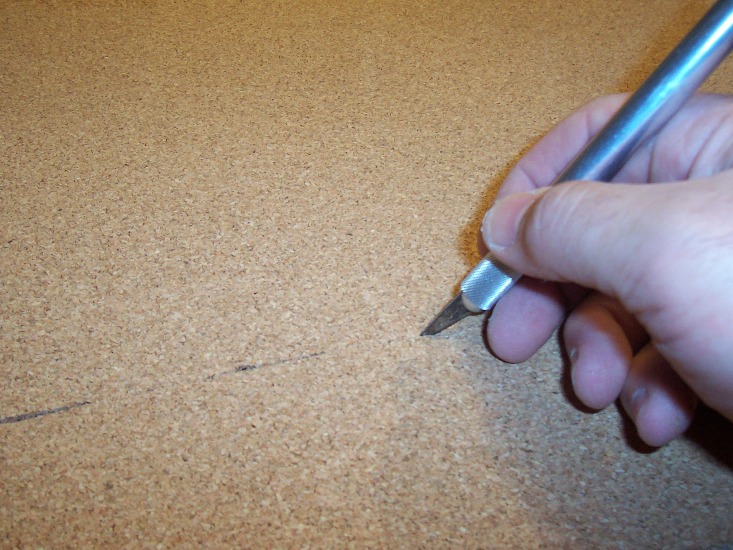
Using an X-acto knife to make the initial cut for the inspection pits. 
Four inspection pit cuts completed. |
|
(Click on images for a larger view.) |
|
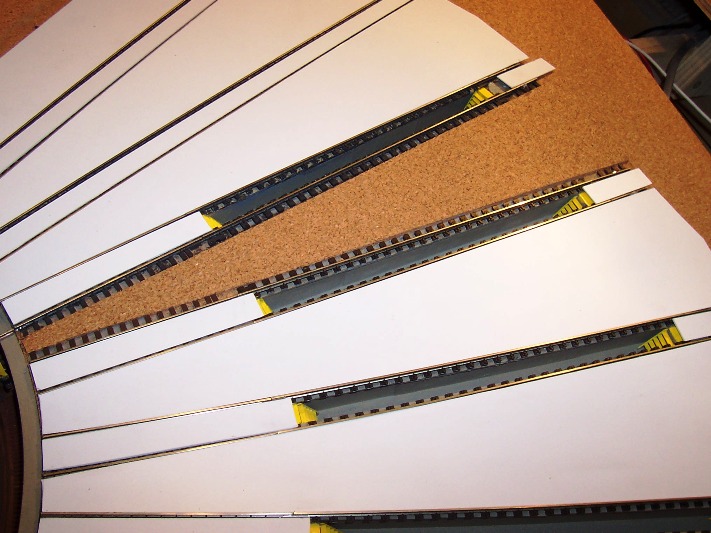
Track alignment and placement. Notice the track at the top (left side image below), it was attached using the 3M Super 77 spray adhesive, as a test it was quite messy when I sprayed the bottom of the track, even the rail heads accumulated some of the adhesive. Once the track was attached to the cork foundation I used rubbing alcohol on a paper towel to wipe off the extra adhesive. The second track was attached in the conventional method utilizing gray latex caulk, and it is the preferred method. Aligning the inspection track rails (right side image below). 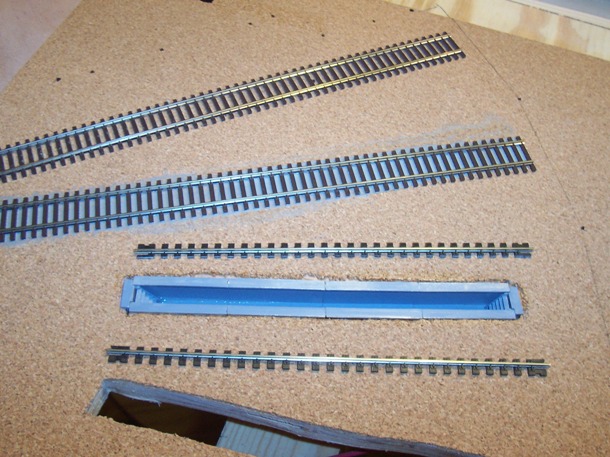
Track alignments and placements measured 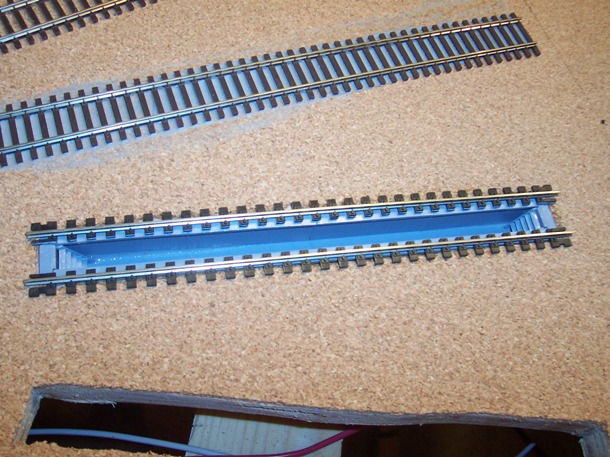
Making the initial inspection pit track alignments and testing prior to attachment. |
|
Using the NMRA track gauge to ensure inspection pit tracks are in alignment. And attaching the next layer of cork for foundation. 
Using the NMRA track gauge to ensure proper rail alignment in the inspection pit area. 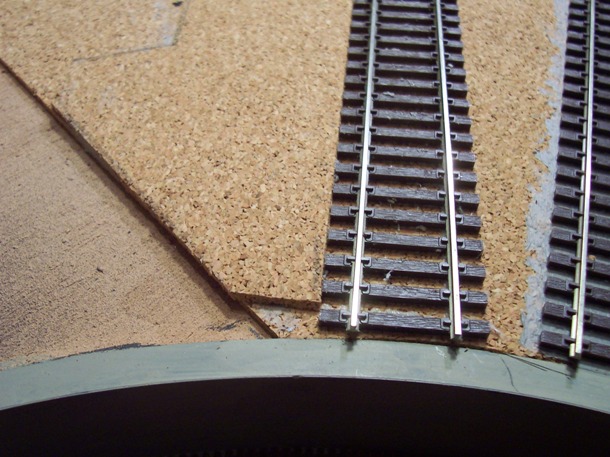
Second layer cork foundation added adjacent to the first tangent track in the roundhouse. 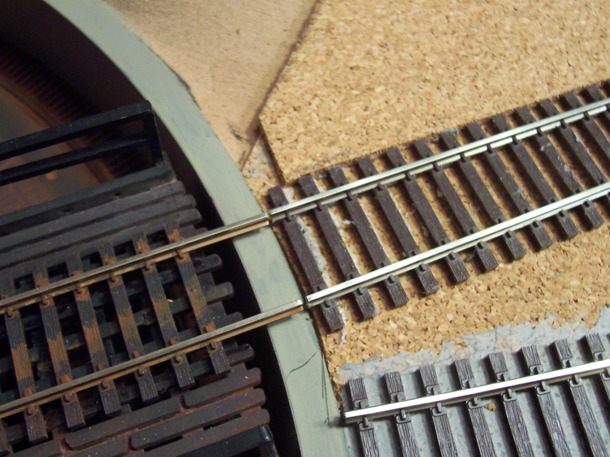
Another close-up, this time from the top view. 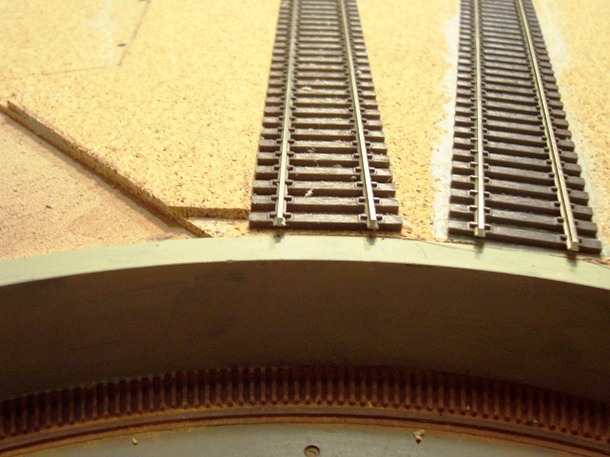
Another angle and close-up view of the second layer cork addition. |
|
Ensuring accurate placement for the foundation layers with the roundhouse alignment to the exterior walls and track alignment within each stall. Also cut the first piece of .030 sheet styrene that will eventually be spray painted with concrete and aged concrete. This will be the top floor layer that the roundhouse will eventually rest. |
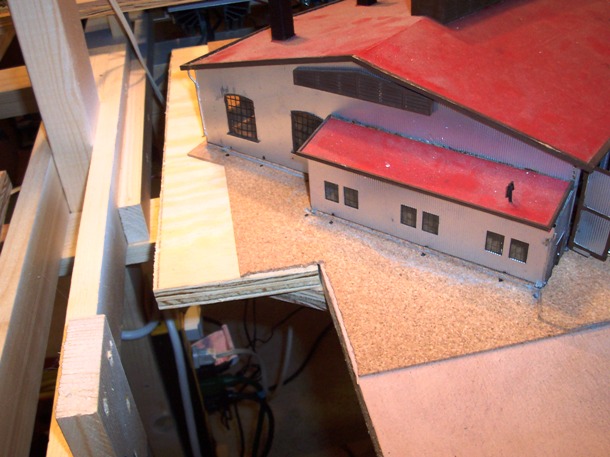
Looking at the northeast side of the roundhouse and foundation alignment. 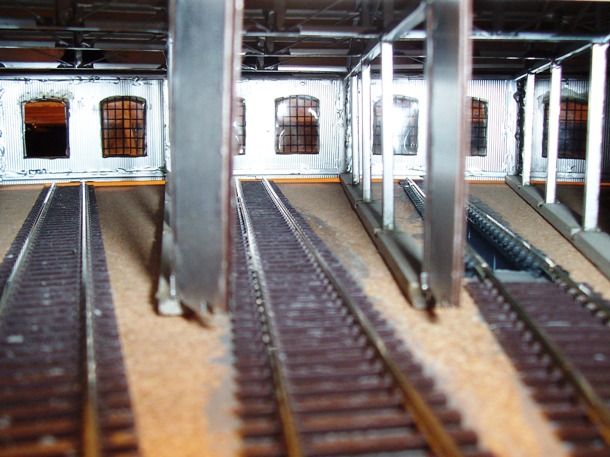
Interior view of roundhouse and track alignment check. |

Interior view of track alignment with inspection pit in roundhouse. 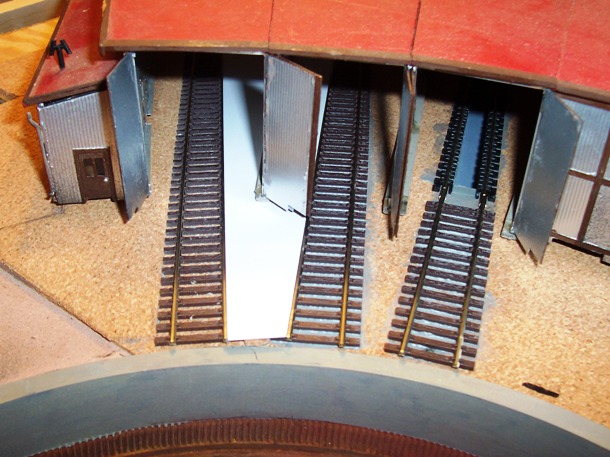
Testing alignment with the sheet styrene layer. |
|
(Click on images for a larger view.)
|
|
Inspection Pit and Rails Painting - September 21, 2007 |
|
Updated the inspection pit color with a 1:1 mixture of Poly Scale Concrete and Aged Concrete paint. Also painted the rails with Poly Scale Grimy Black paint, then after it dried applied Windex with a Q-Tip to remove the paint from the rail top side. Painted the inspection pit steps with a caution yellow paint, using yellow ochre acrylic water based paint. |

Inspection pit painted with concrete and aged concrete mixture. 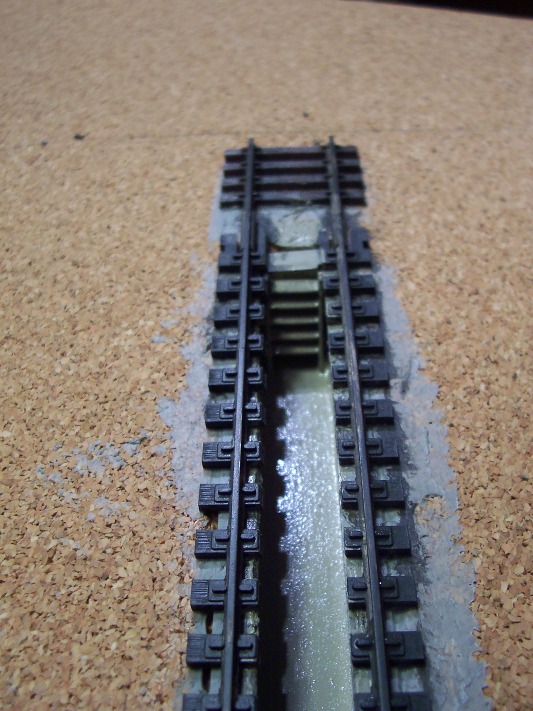
Close-up of the freshly painted inspection pit. |
|
(Click on images for a larger view.)
|
|
Roundhouse Flooring Completed - November 12, 2007 |
|
Finally got the concrete (styrene) flooring done this weekend for the roundhouse. Measured, cut and attached the sheet styrene to the cork sheets between the rails and inside the rails, and using latex caulk I attached the styrene sheets to the cork sheets: |
Measured and cut styrene sheets. 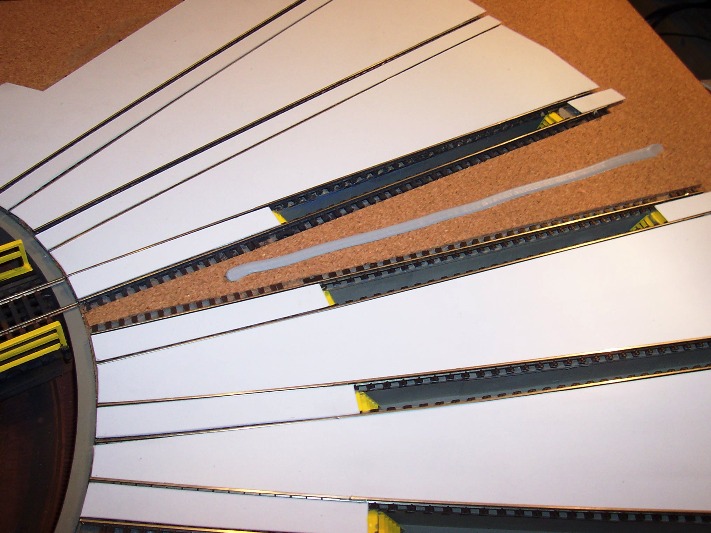
Latex caulk used to attach the styrene. |
|
Then spread out the latex caulk into a thin even consistency with a plastic card, and all the styrene sheets in place. Allowed the styrene sheets to set overnight before the next step: |

Spread the latex caulk. 
All styrene sheets attached. |
|
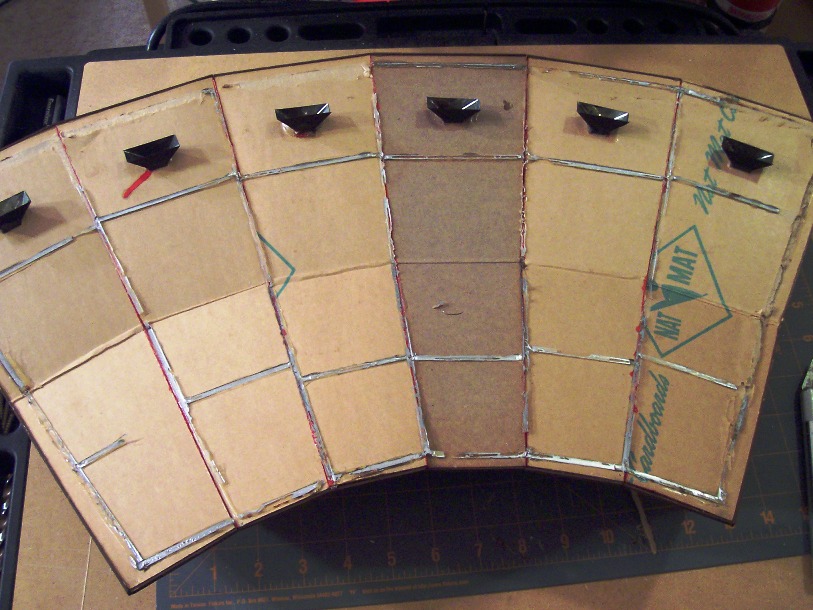
Then I scored expansion joints into the styrene and spaced a grid at every 1 1/2" and 1 3/4". Then I prepped the area for spraying painting with a 50:50 mixture of Floquil Concrete and Floquil Aged Concrete. Then this mixture was added to a spray paint jar at a ratio of 75% paint and 25% thinner. |
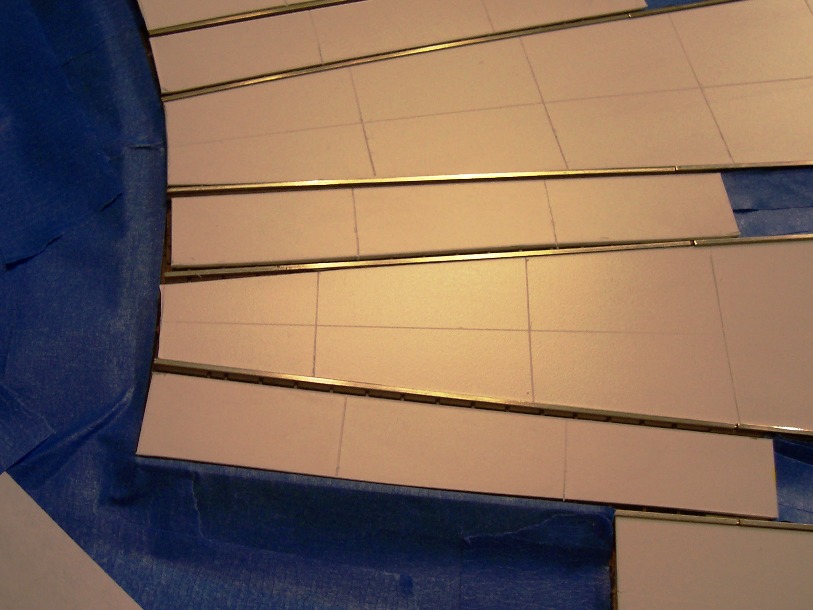
Scored expansion joints. 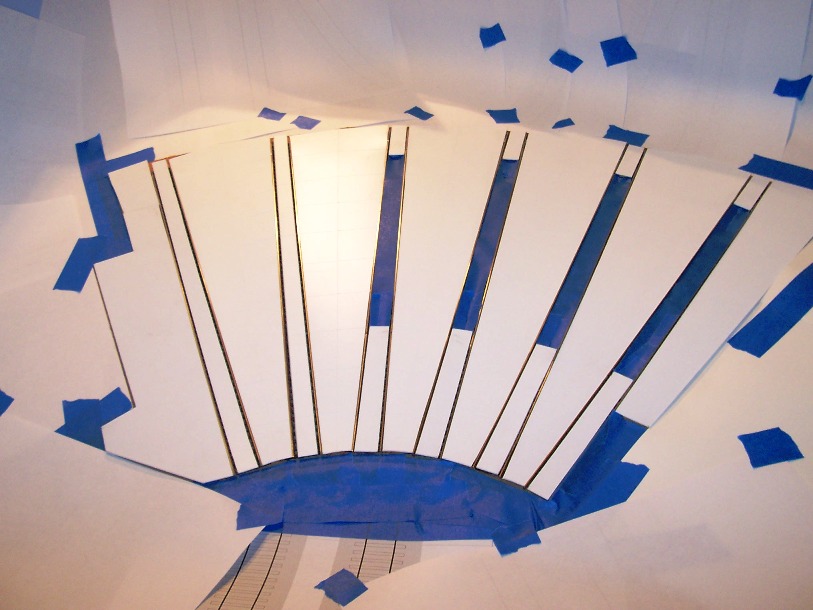
Prepped area around styrene. |
|
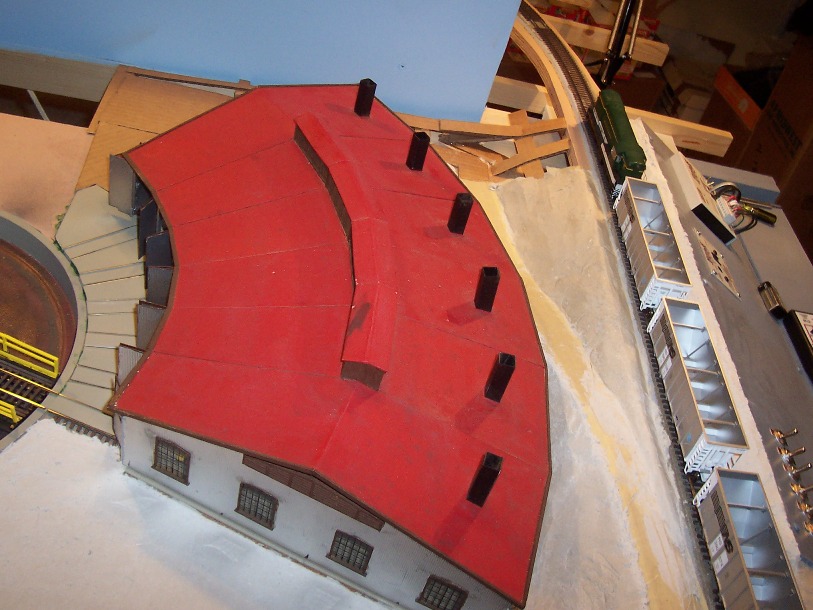
The final product after the paint dried and with the roundhouse positioned on top of the completed flooring. |
The final concrete flooring. 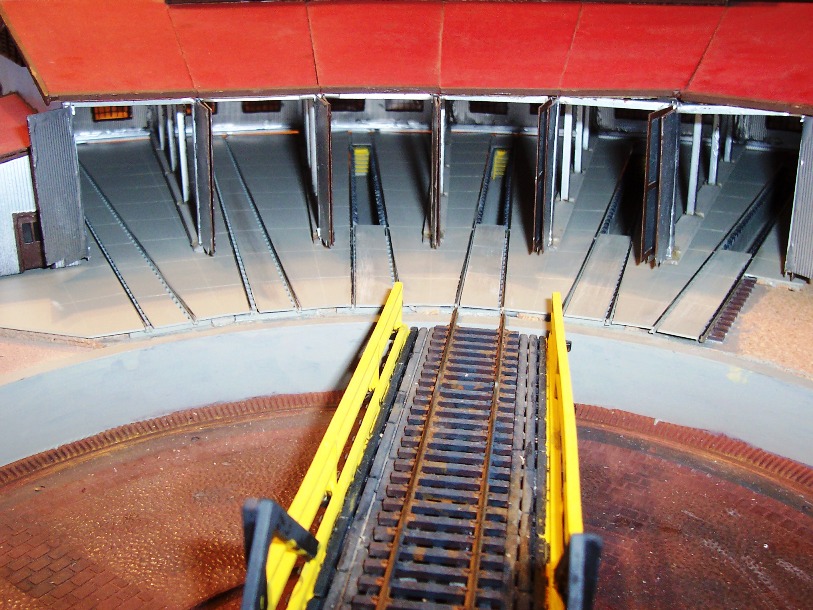
Roundhouse positioned on flooring. |
|
The next steps include filling in the gaps in front where the flooring meets the roundtable and then the details start getting added. |
|
(Click on images for a larger view.)
|
|
Roundhouse track wiring completed and tested ~ Wednesday, November 28, 2007 Wired and attached the final two SPST switches to the control panel and tested the track electrical's with the loco and all works as expedited. |

Testing track 2 with loco. 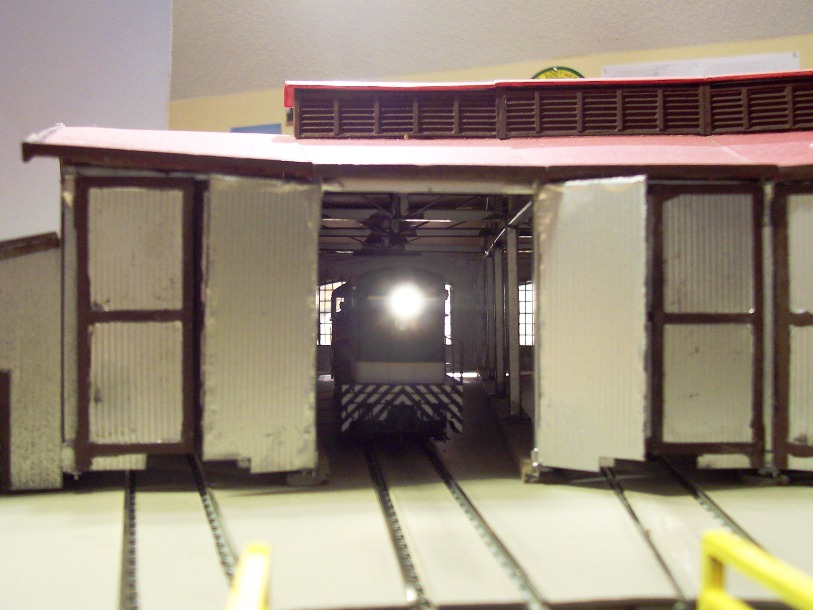
Testing track 2 with loco another view. |
|
The 6 SPST switches in place on the control panel correspond with each of the 6 tracks within the roundhouse. 
Control Panel with 6 SPST switches wired and installed. |
|
|
|
Roundhouse roof removal and cleanup ~ Sunday, December 2, 2007 Removed the card stock roof from the roundhouse sub roofing structure. 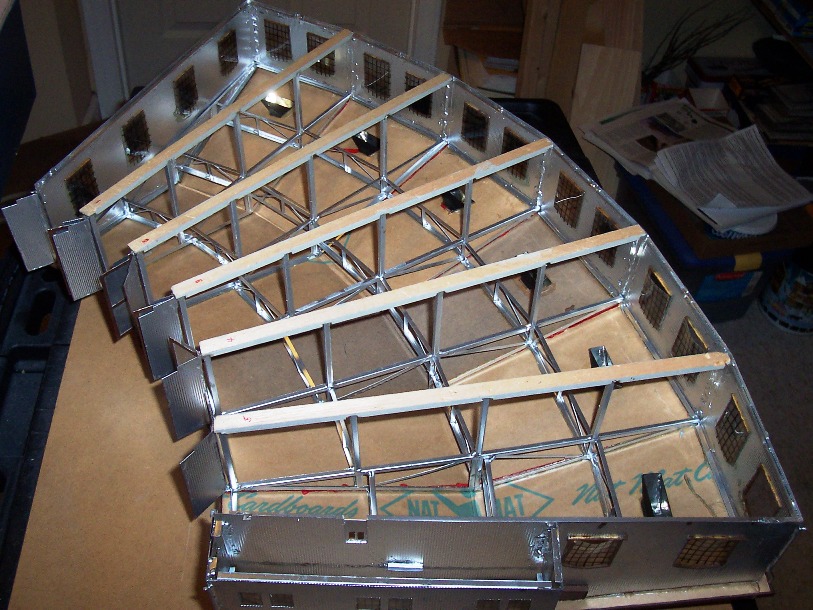
Roundhouse ready to remove the roof. 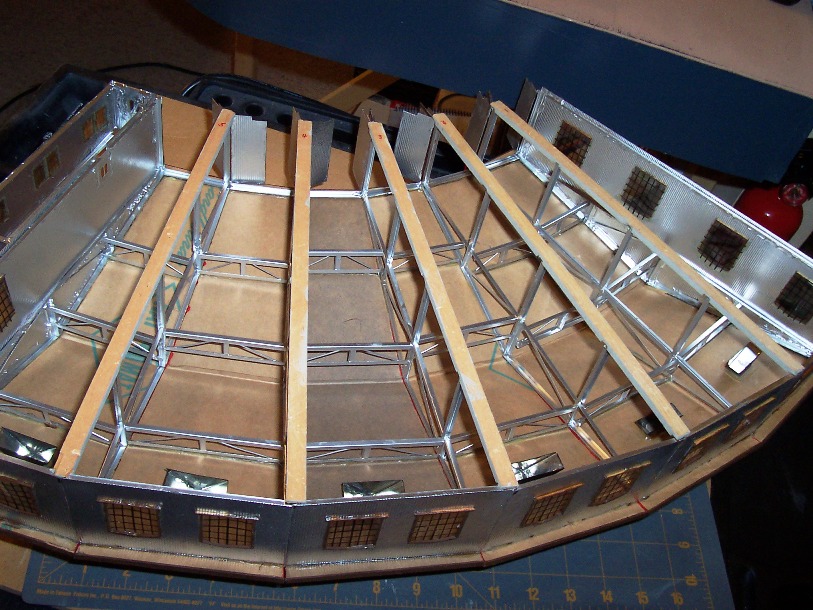
Roundhouse upside down. 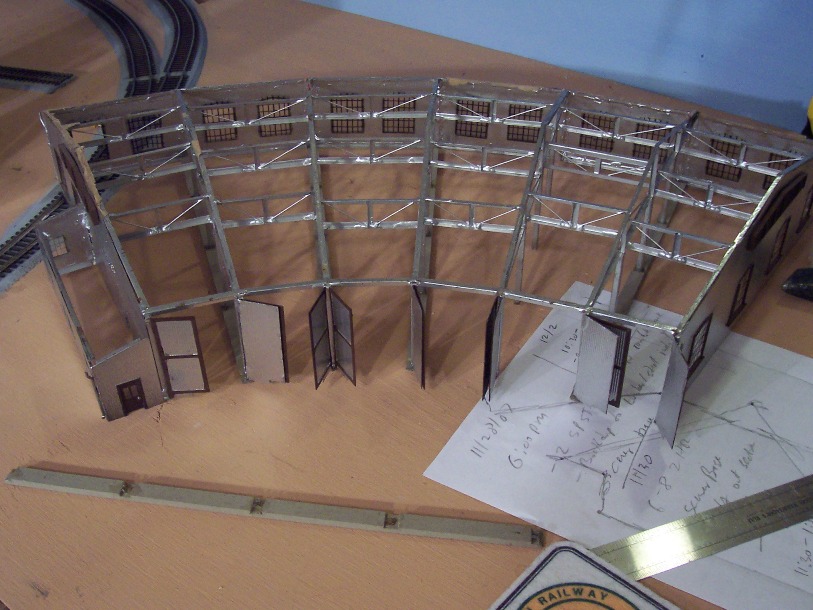
Roof removed and roundhouse upright. 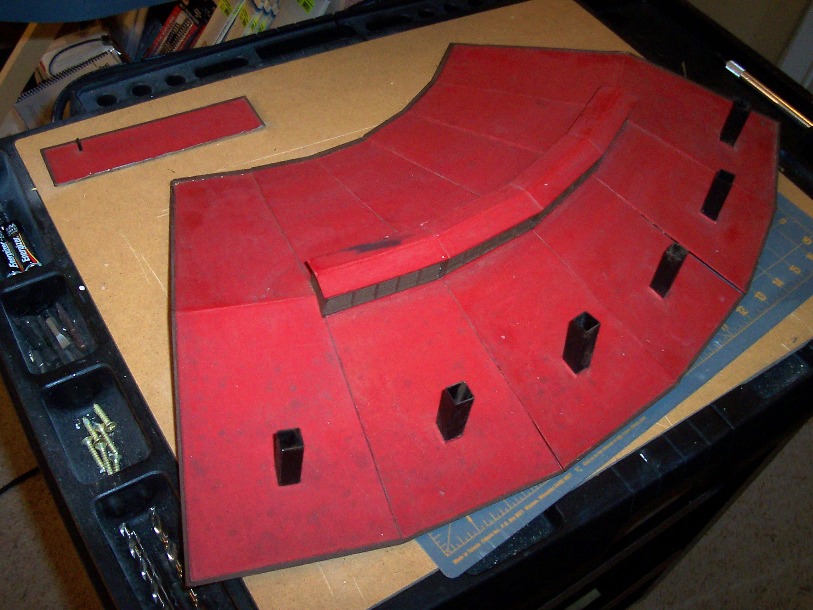
Roof unattached from roundhouse. |
|
Cleaned up the dried 30+ year old glue from the card stock and the structure. Using an X-acto knife I gingerly cut the seam where the card stock roof material met with the metal roofing supports. Some areas had a heavy application of what appears to have been Elmer's while glue. The dried glue required much work to be removed without damaging either the card stock or the roof supports. A very thin layer of the card stock was compromised to remove the dried glue, this was necessary in order to ensure a tight fit once the roof is re-attached with magnets. The roof will be removable for interior viewing opportunities and to get a better view of the interior details. |
Card stock roof turned over. 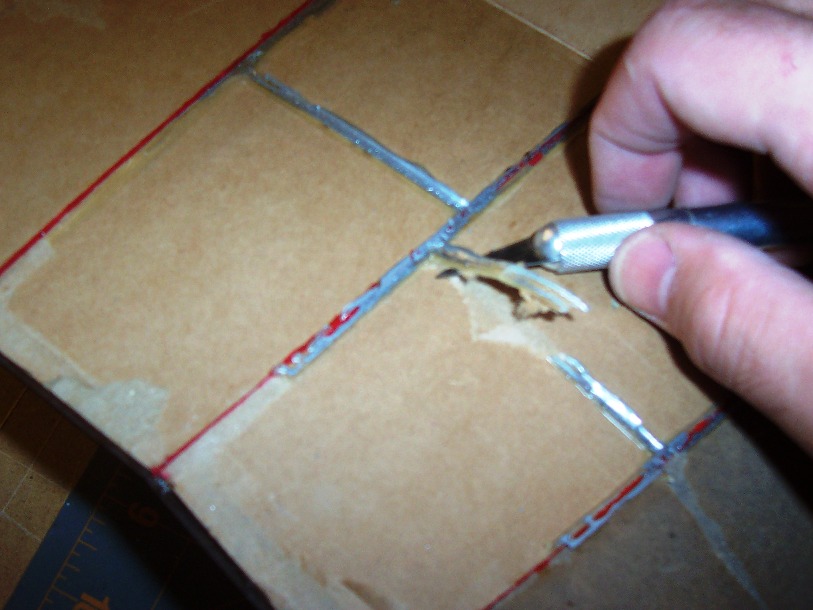
Remove dried on glue with X-acto knife. 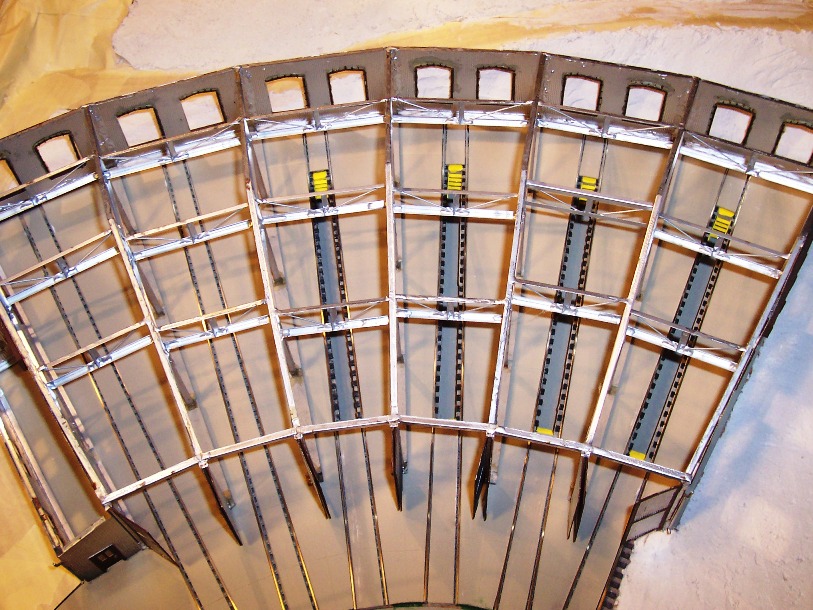
Cleaned up roundhouse structure. 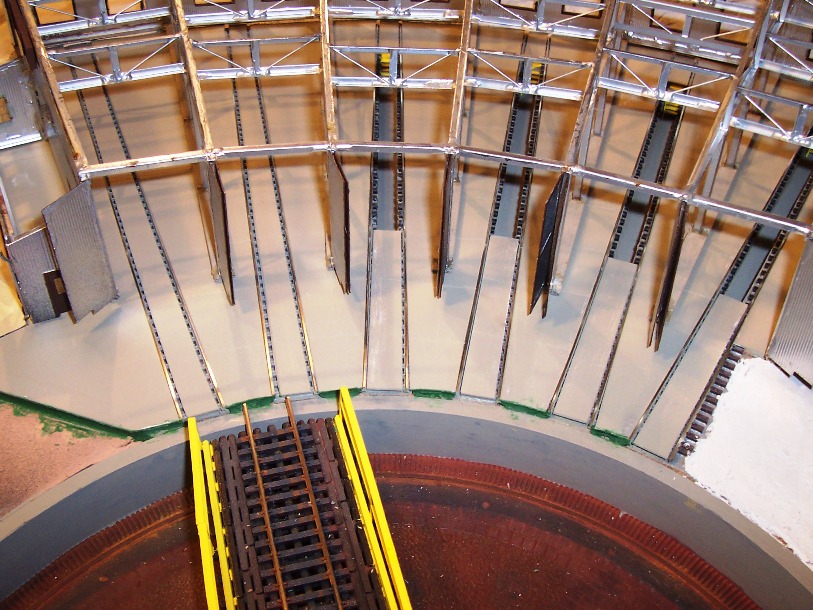
Another view of the roundhouse. |
|
Added simulated tar roof shingles to office roof with measured and cut masking tape. Using a technique I learn awhile ago, I used strips of masking tape and measured them to a scale 2' width. Once the lengths were cut I measured and cut a shingle flap cut every scale 3'. The next step will be to paint and weather the roof to create a simulated tar shingle roof. |
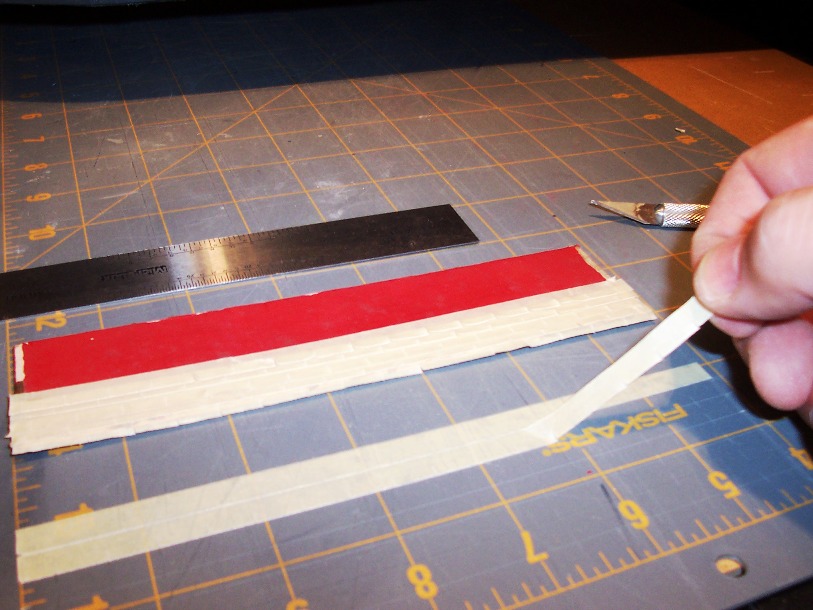
Measured and cut masking tape. 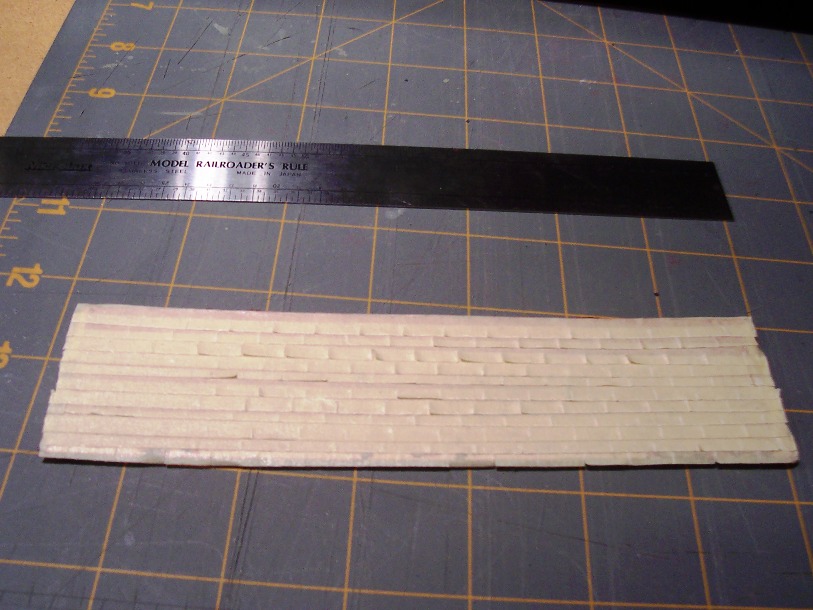
Masking tape strips applied to office roof. 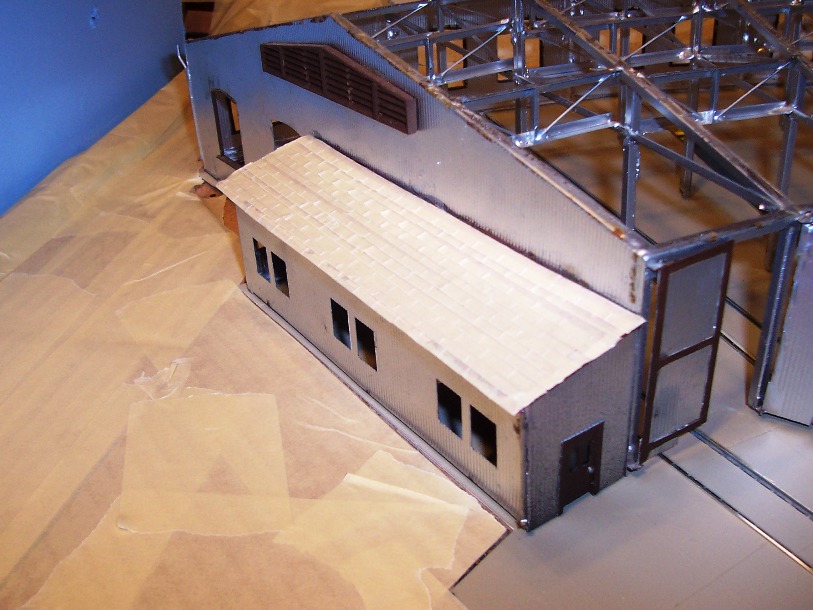
Roof on office section of roundhouse. 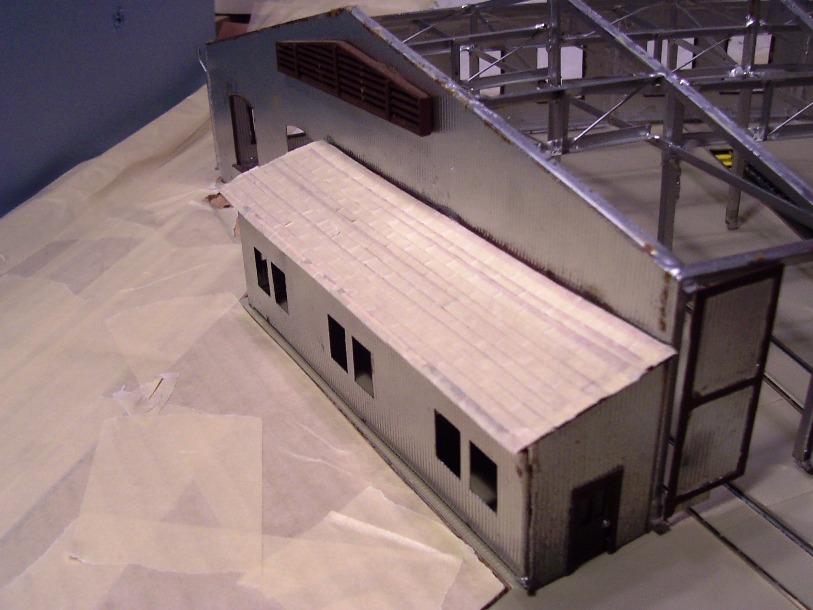
Roof on office section of roundhouse. |
|
(Click on images for a larger view.) |
|
Corrugated Roofing Material Fabricated ~ Tuesday, January 29, 2008 Made the decision to go with a corrugated roof and found a cheap material at Michael's Arts & Crafts, total project cost for the roofing is about $5.00. The roofing material arrived by Southern flat car! Now how about that! The images also highlight the roofing caps tested in place, and I have also included a mini-clinic on how the sheets are fabricated. 
Roofing materials arrive on Southern flatcar 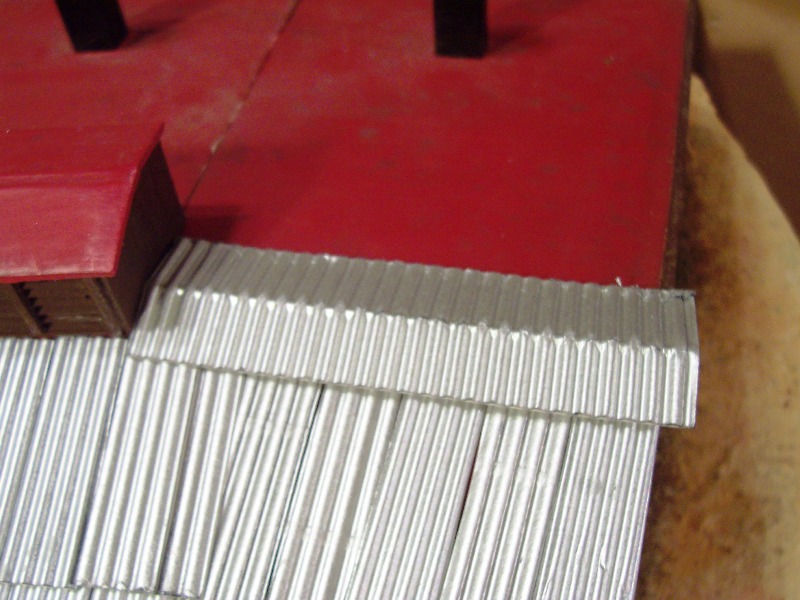
Roofing material on front section of the roundhouse |

Test fitting the roof caps |
|
Now a little mini-clinic on how I made the roofing materials. Went to Michael's Arts and Crafts on the weekend and in the paper section found about 3 colors of corrugated paper card stock. I bought the white, black and green ones, about 4 or 5 sheets of each. They range on price from $0.59 to $0.99 each, some are 12"X12" and some are 8 1/2"X11". This is the black 8 1/2"X11" corrugated sheets that I spray painted with some metal silver paint first. After the paint was dry I take a sheet and scribe the measurements at a scale 12' apart, and make the cuts with an X-acto knife. The 12' scale feet HO yields 6 panels for each full sheet. 
Black corrugated card stock painted metal silver then allowed to dry 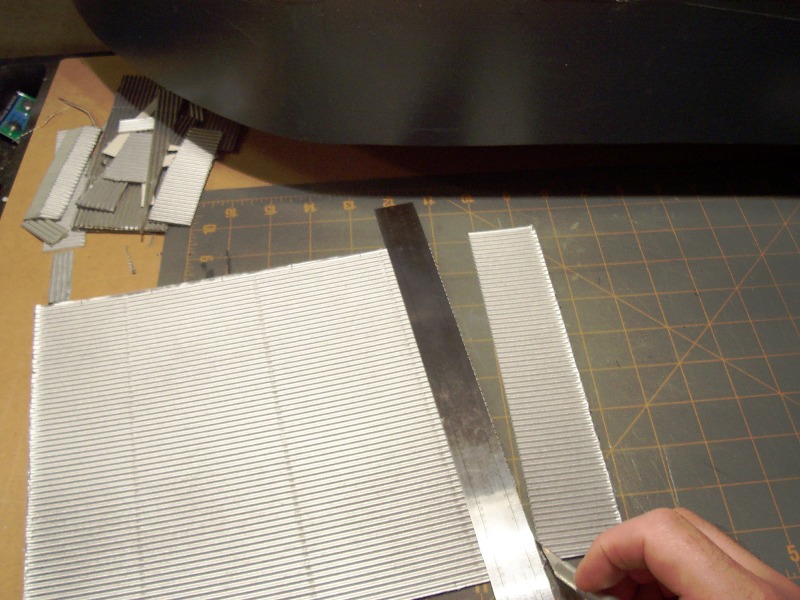
Measured 12' scale feet HO and made cuts with X-acto knife |
|
Then I make the 4' HO scale wide cuts to yield around 15 of the 4'X12' HO scale panel sheets. Therefore, each 8 ½" X 11" sheet of card stock yields about 90 of the 4'X12' panels. 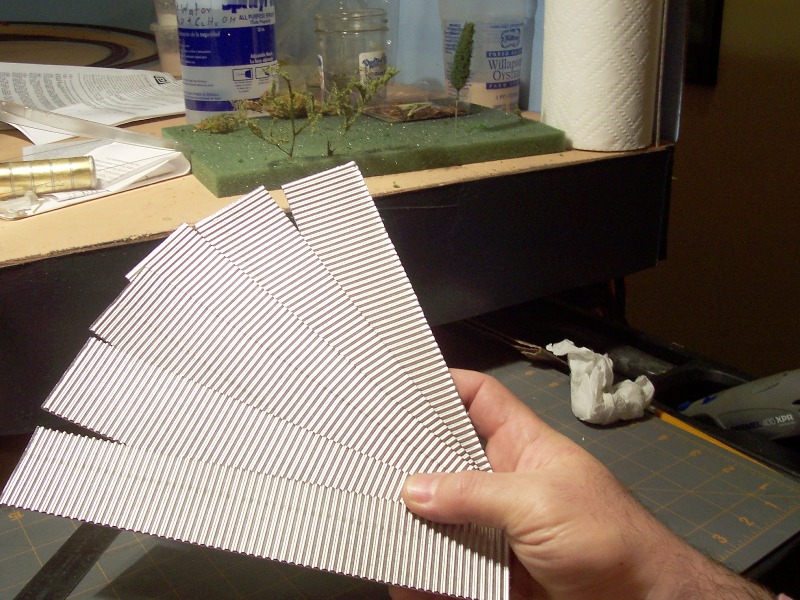
Yields 6 panels at 12' HO scale width 
Making the 4' wide panel cuts 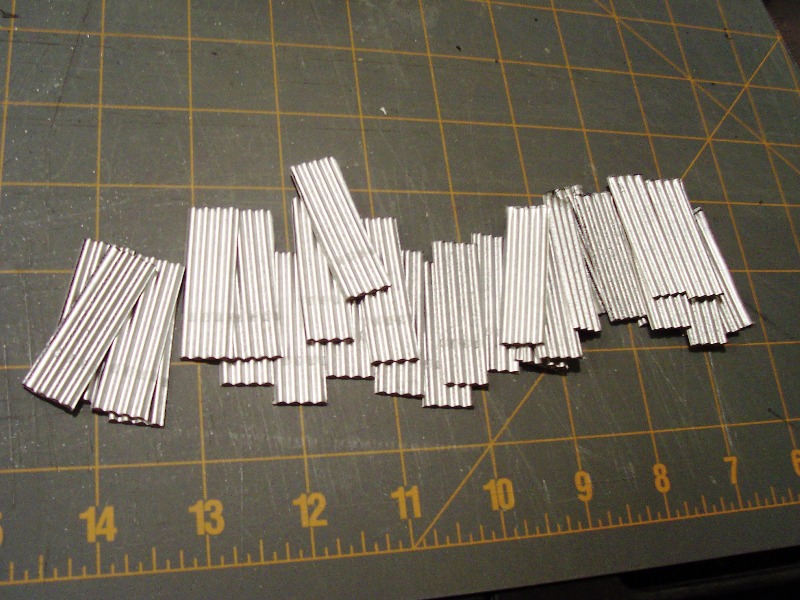
A small stack of fabricated 4'X12" corrugated roofing material |
|
(Click on images for a larger view.) |